


I’ve been wanting to update the laundry room for quite some time now. I spend a lot of time in there doing something I don’t really love (or like all that much) so I want it to at least be pretty and inviting while I’m washing all the clothes.
Last week, I read (in 2 days, so good!) The Nesting Place. It really struck a cord with me because I’m one of those people who have held off making my spaces more “me” because of money, not knowing how long we’ll be in this house, not having a clue about design (hello, child development degree over here!) etc. I know I’m a little late in discovering “The Nester” but seriously, where has she been all my life?? I needed someone to tell me to just make it/decorate it/paint it already! That it’s my house, to do want I want and not what I think is “right”. Also, that I don’t have to be rich or have a design degree to make a home I (& my family) absolutely love.
So, tangent over. Go read that book. Back to my laundry room. There is basically no natural light in here. So let’s call it a laundry cave.

After taking a break from projecting, and reading for a few days, I felt really inspired to do a few projects I’d been putting off; namely, giving the laundry room cave a little character. The weird yellowy-tan color will have to go eventually, but I can’t commit to that right now. So as Tim Gunn would say, I’m going to “make it work” for now.
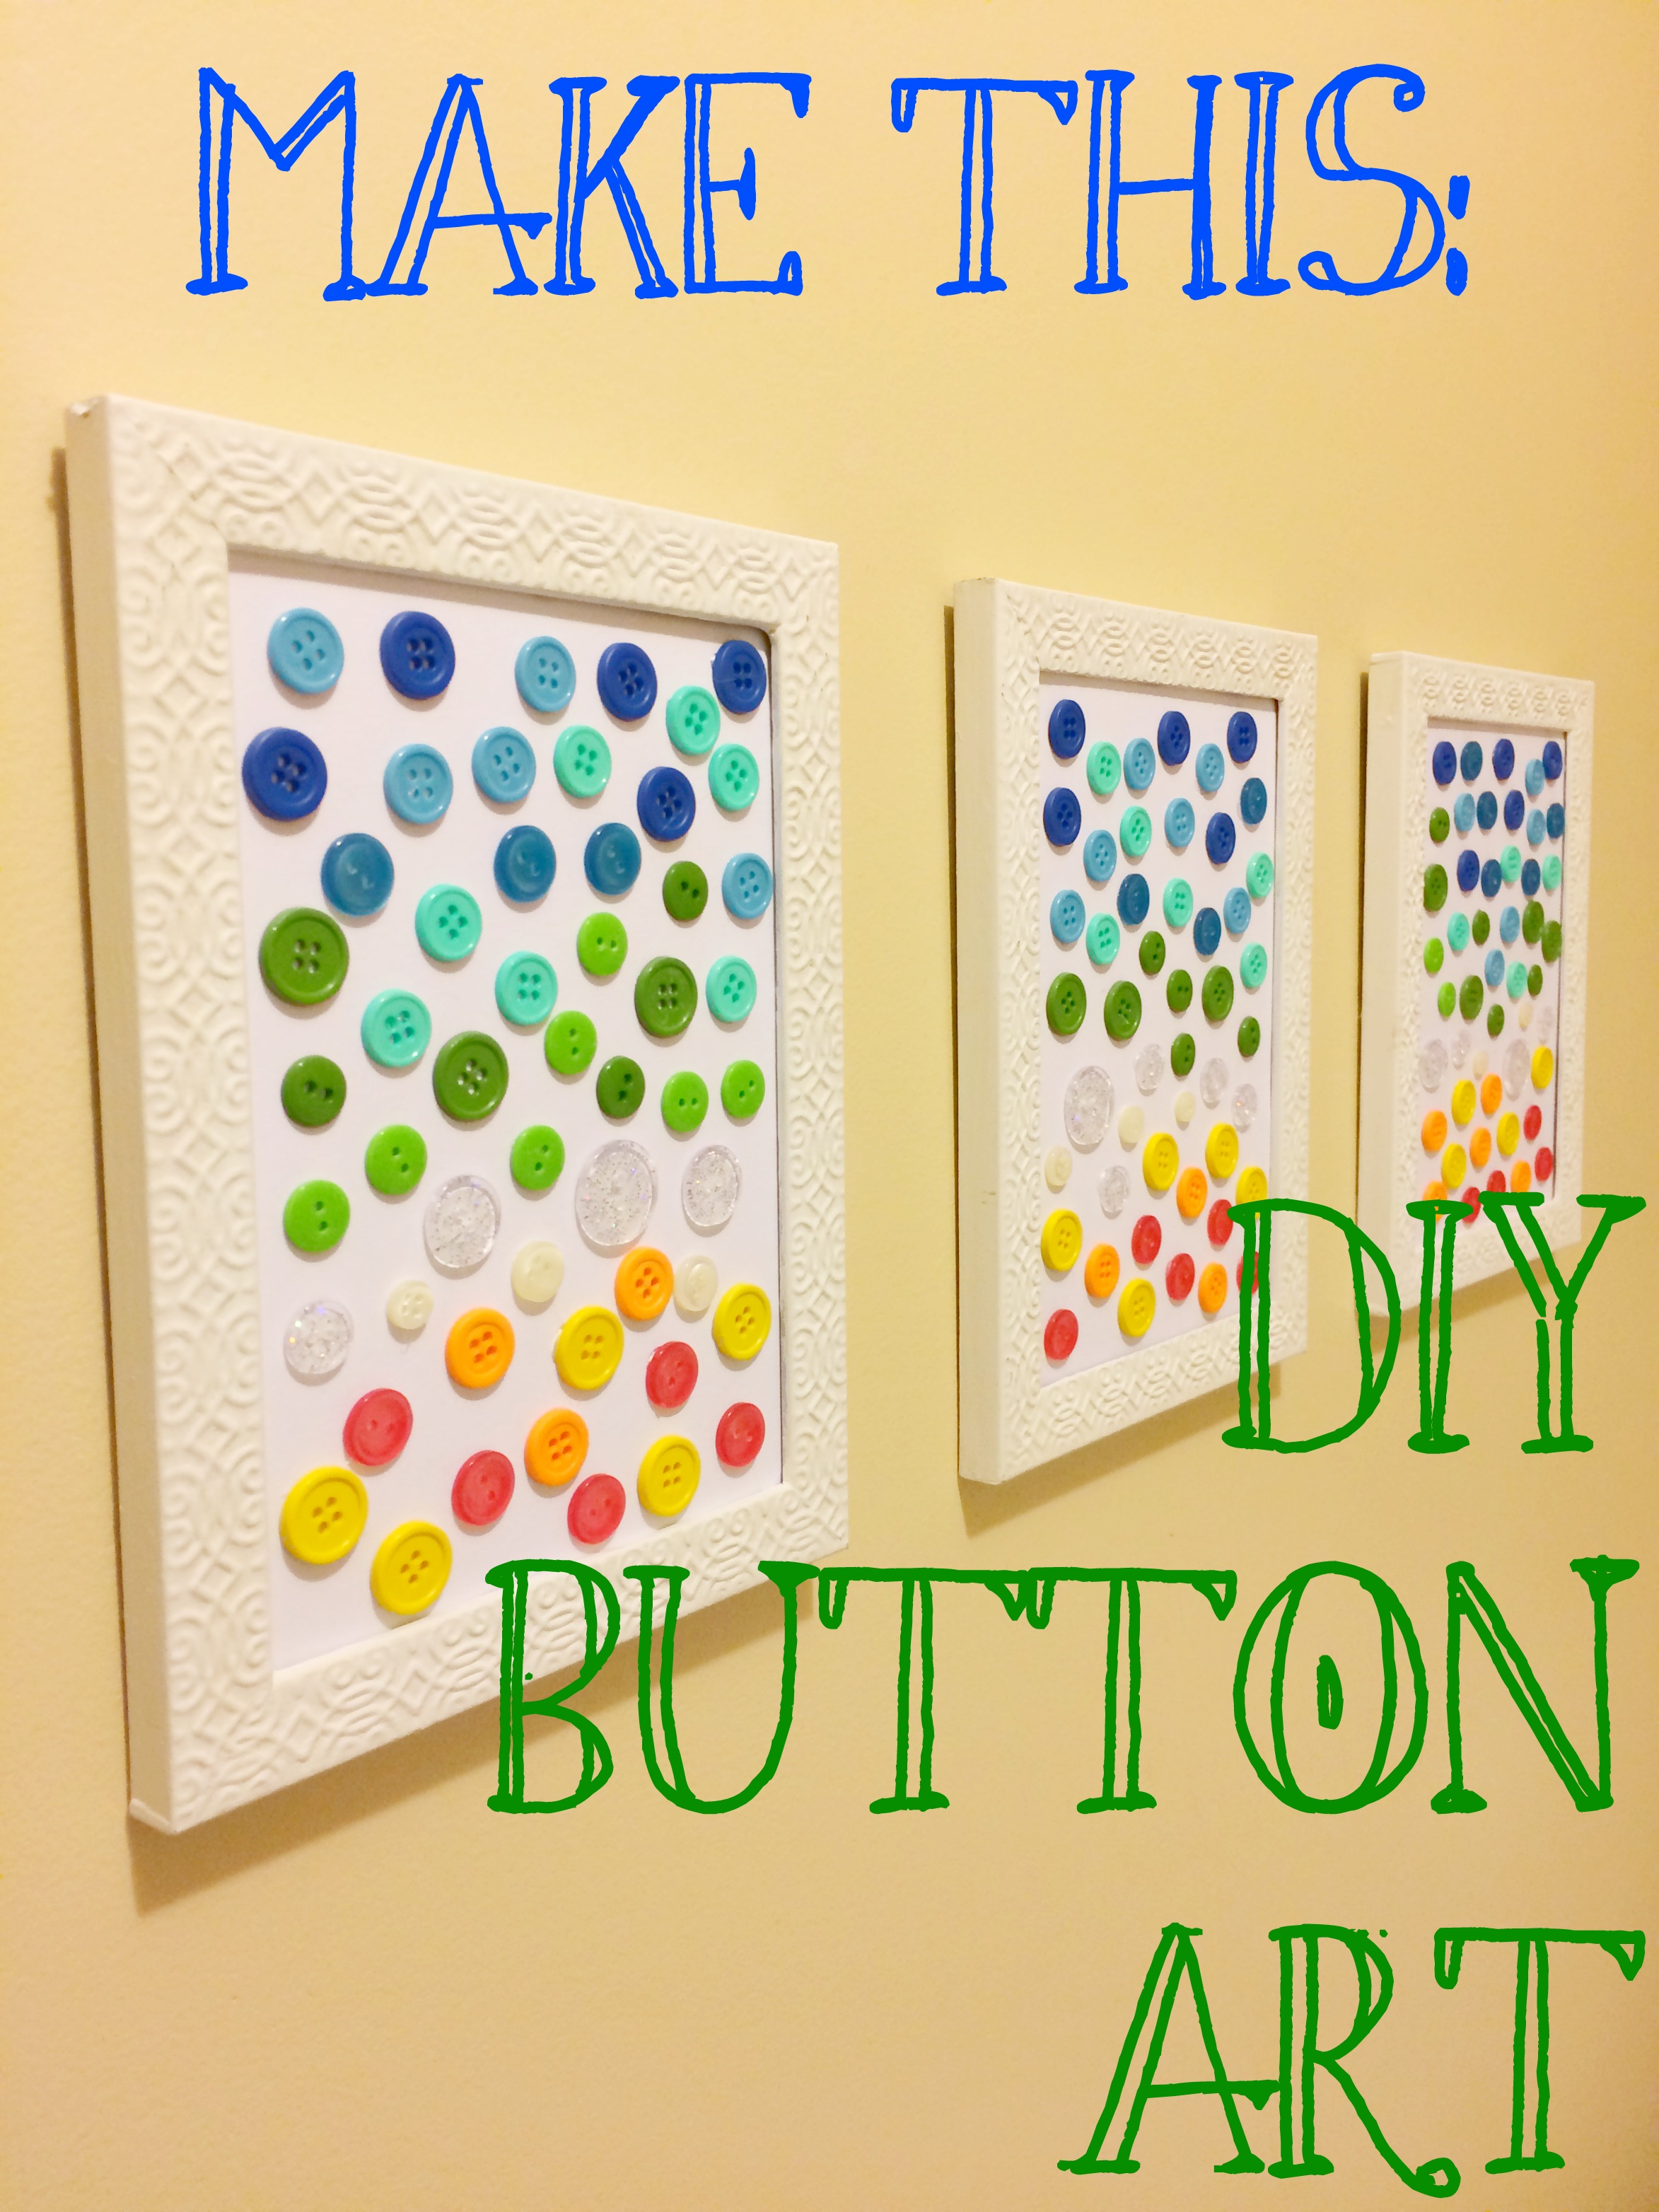
I did a little craft room shopping and came up with some colorful buttons, empty frames (dollar store frames from our wedding centerpieces) and white card stock. And don’t forget the trusty glue gun! I figured buttons, laundry room cave; perfect match. And the colors popping off of the white, swoon! Just what I would need to make my space a little happier.

I cut the card stock to fit the frames, mine were 5 x 7, and removed the glass. Then, I just grabbed a handful of buttons and put them on each frame to be spread out. This part wasn’t an exact science. I just put them in somewhat of a ROY G BIV order and threw in some sparkly clear and ivory (which are totally extra buttons from shirts) between the cool and warm colors for some separation.
Then, out came the glue gun. I did a little dab of glue on the back of each button then stuck it back in its place. This part was a little tedious, but only took about 15 minutes to do all three frames. The boys were even awake for this part, so it’s totally doable! (Wow, up close my glue gun looks really gross! It’s well loved =])

And that’s it! So super simple and a great way to add a punch of color to the laundry room! Plus, it cost next to nothing for some custom art. And I’m a big fan of making my own art.
I removed the stands from the back of the frames and I won’t lie this is where I got a little nervous because I was thinking “what if I want these frames to stand up again one day?” So I told my irrational thinking self, “you bought these frames 4 1/2 years ago for $1 each, if you want stand up frames again, go to the dollar store.” You are right, self. So I ripped them off! I felt rebellious.

To hang it, I used these Command Picture Hanging Strips cut in half (my frames were really light) and put them on the top of the back of the frame. Can I just say how thankful I am to whoever invented these little gems?? John doesn’t like nail holes in the wall (& frankly, I’m way to fickle to commit to putting holes in the wall) so these are the perfect solution. We use them everywhere.


Then I used a level to make sure they were all um, level.

And, voila!


A few other things I did to make this space more functional, was to remove the closet door and leave all my supplies out on top of the dryer (you can see that in the picture at the top of this post. Removing the door in here was a game changer. We had 3 (three!!!) doors opening into this space that is pretty tight already without adding in baskets and clothes and everything else. It was driving me nuts, so I took it off and put it into the basement. It was really amazing how big of a difference it made. Plus, now I have more of a reason to keep that closet tidy…ha! And leaving the laundry supplies out is pretty much a no-brainer. Opening the cupboards each and every load of laundry, which feels like about 10/day, was just too much extra work. Now, I just scoop (some soap) and shake (some yummy smelling laundry crystals) and done!

I still would like to do a few things in here to brighten in up like:
- Paint the walls a lighter color to brighten up the space
- Paint the cabinets
- Hang a piece of fabric behind the washer and dryer to hide the ugly plugs and water spigots
So, how is your laundry room? Laundry is by far my least favorite chore, so if you know anybody who loves to do laundry, send them my way!
Thanks for stopping by!
xo
Sam

