


Um, what now? Before you start thinking, “Okay, Sam. You need to have that baby because you have OFFICIALLY lost.your.mind”, hear me out!
My parents bought us this dresser for Alex’s room from our little antique shop uptown (it was actually a gift for Christian, but brothers share right??).

I wish I could have captured the amount of damage the previous owner(s?) caused this poor thing. It was definitely in a child’s room and they took out their frustration on this dresser. Luckily, I love a good distressed dresser, and don’t shy away from a little challenge to make things look beautiful.
I took it all apart (except for one stubborn knob) and gave it a good sanding with 60 grit sandpaper. I definitely needed to get some of the scuffs and scrapes and dings out, but not everything! I wiped it all down to get rid of the dust and it also got a little bath in bleach water. I don’t usually clean with bleach, but it looked like some furry critters (or 8 legged ones) may have taken up residence in a few of the drawers. Anything that looks like that, and is going into my child’s room, is getting bleached for sure!
Next up came a coat of primer for the whole thing.
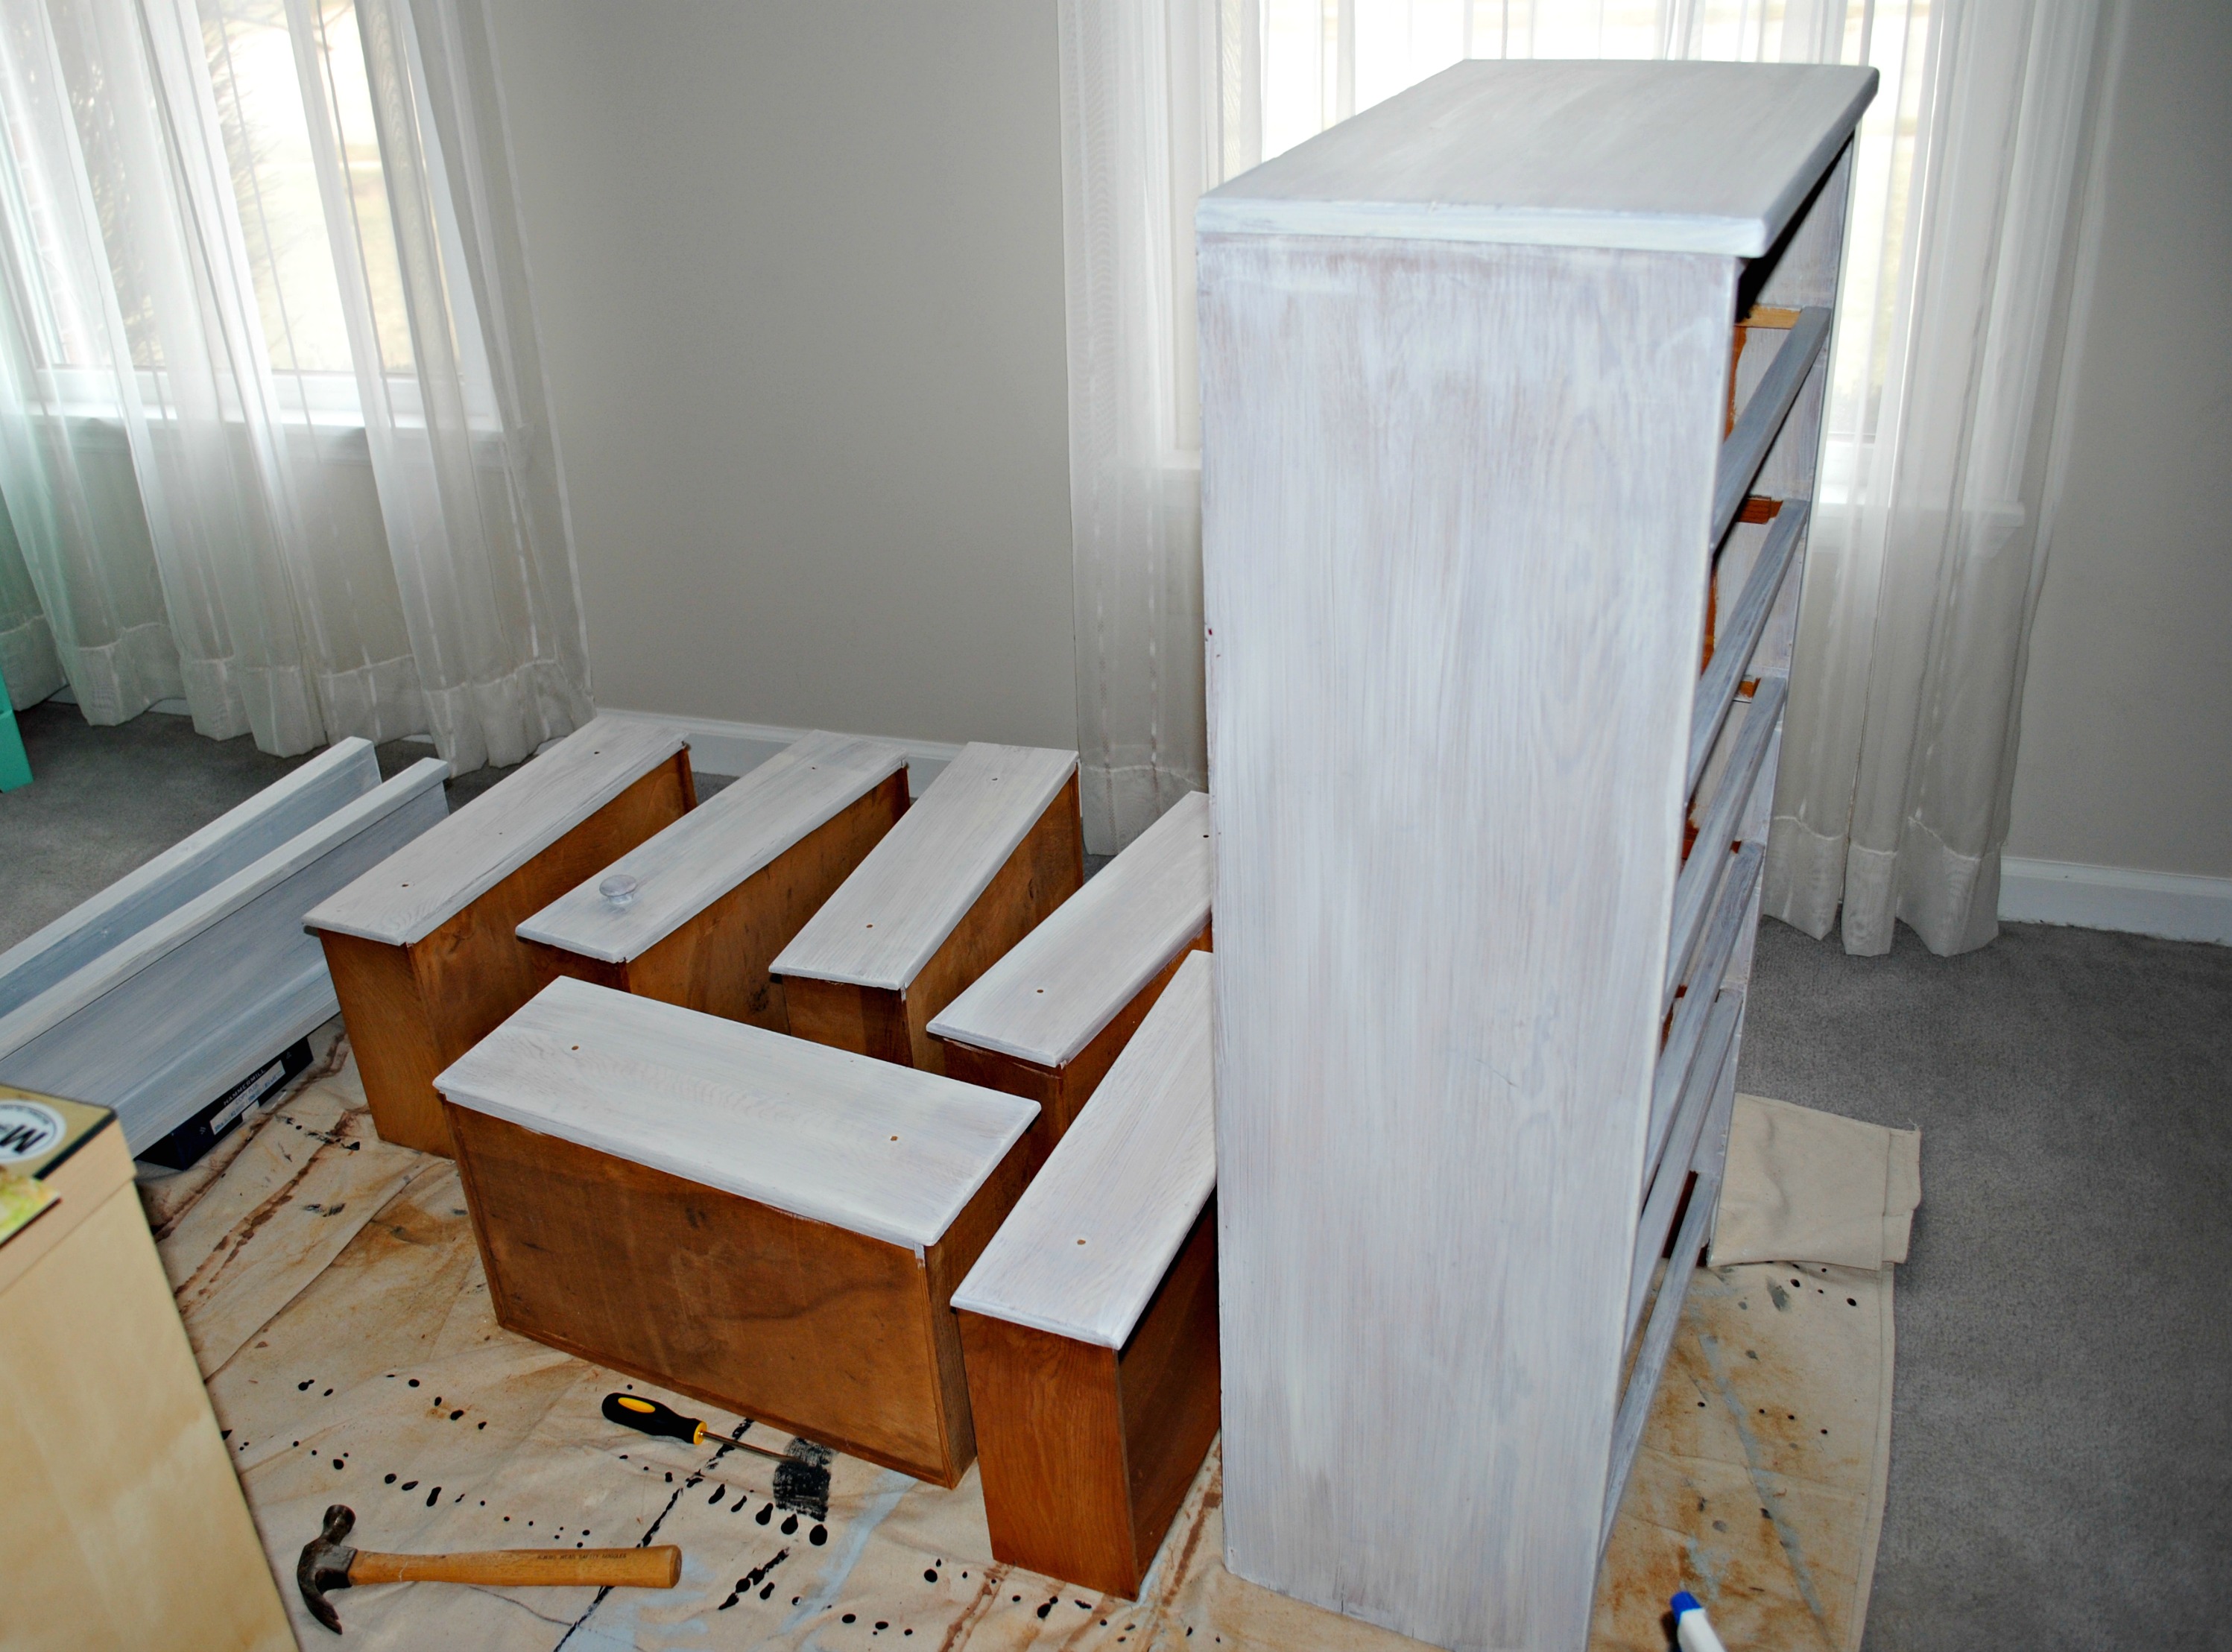
Better already, no?
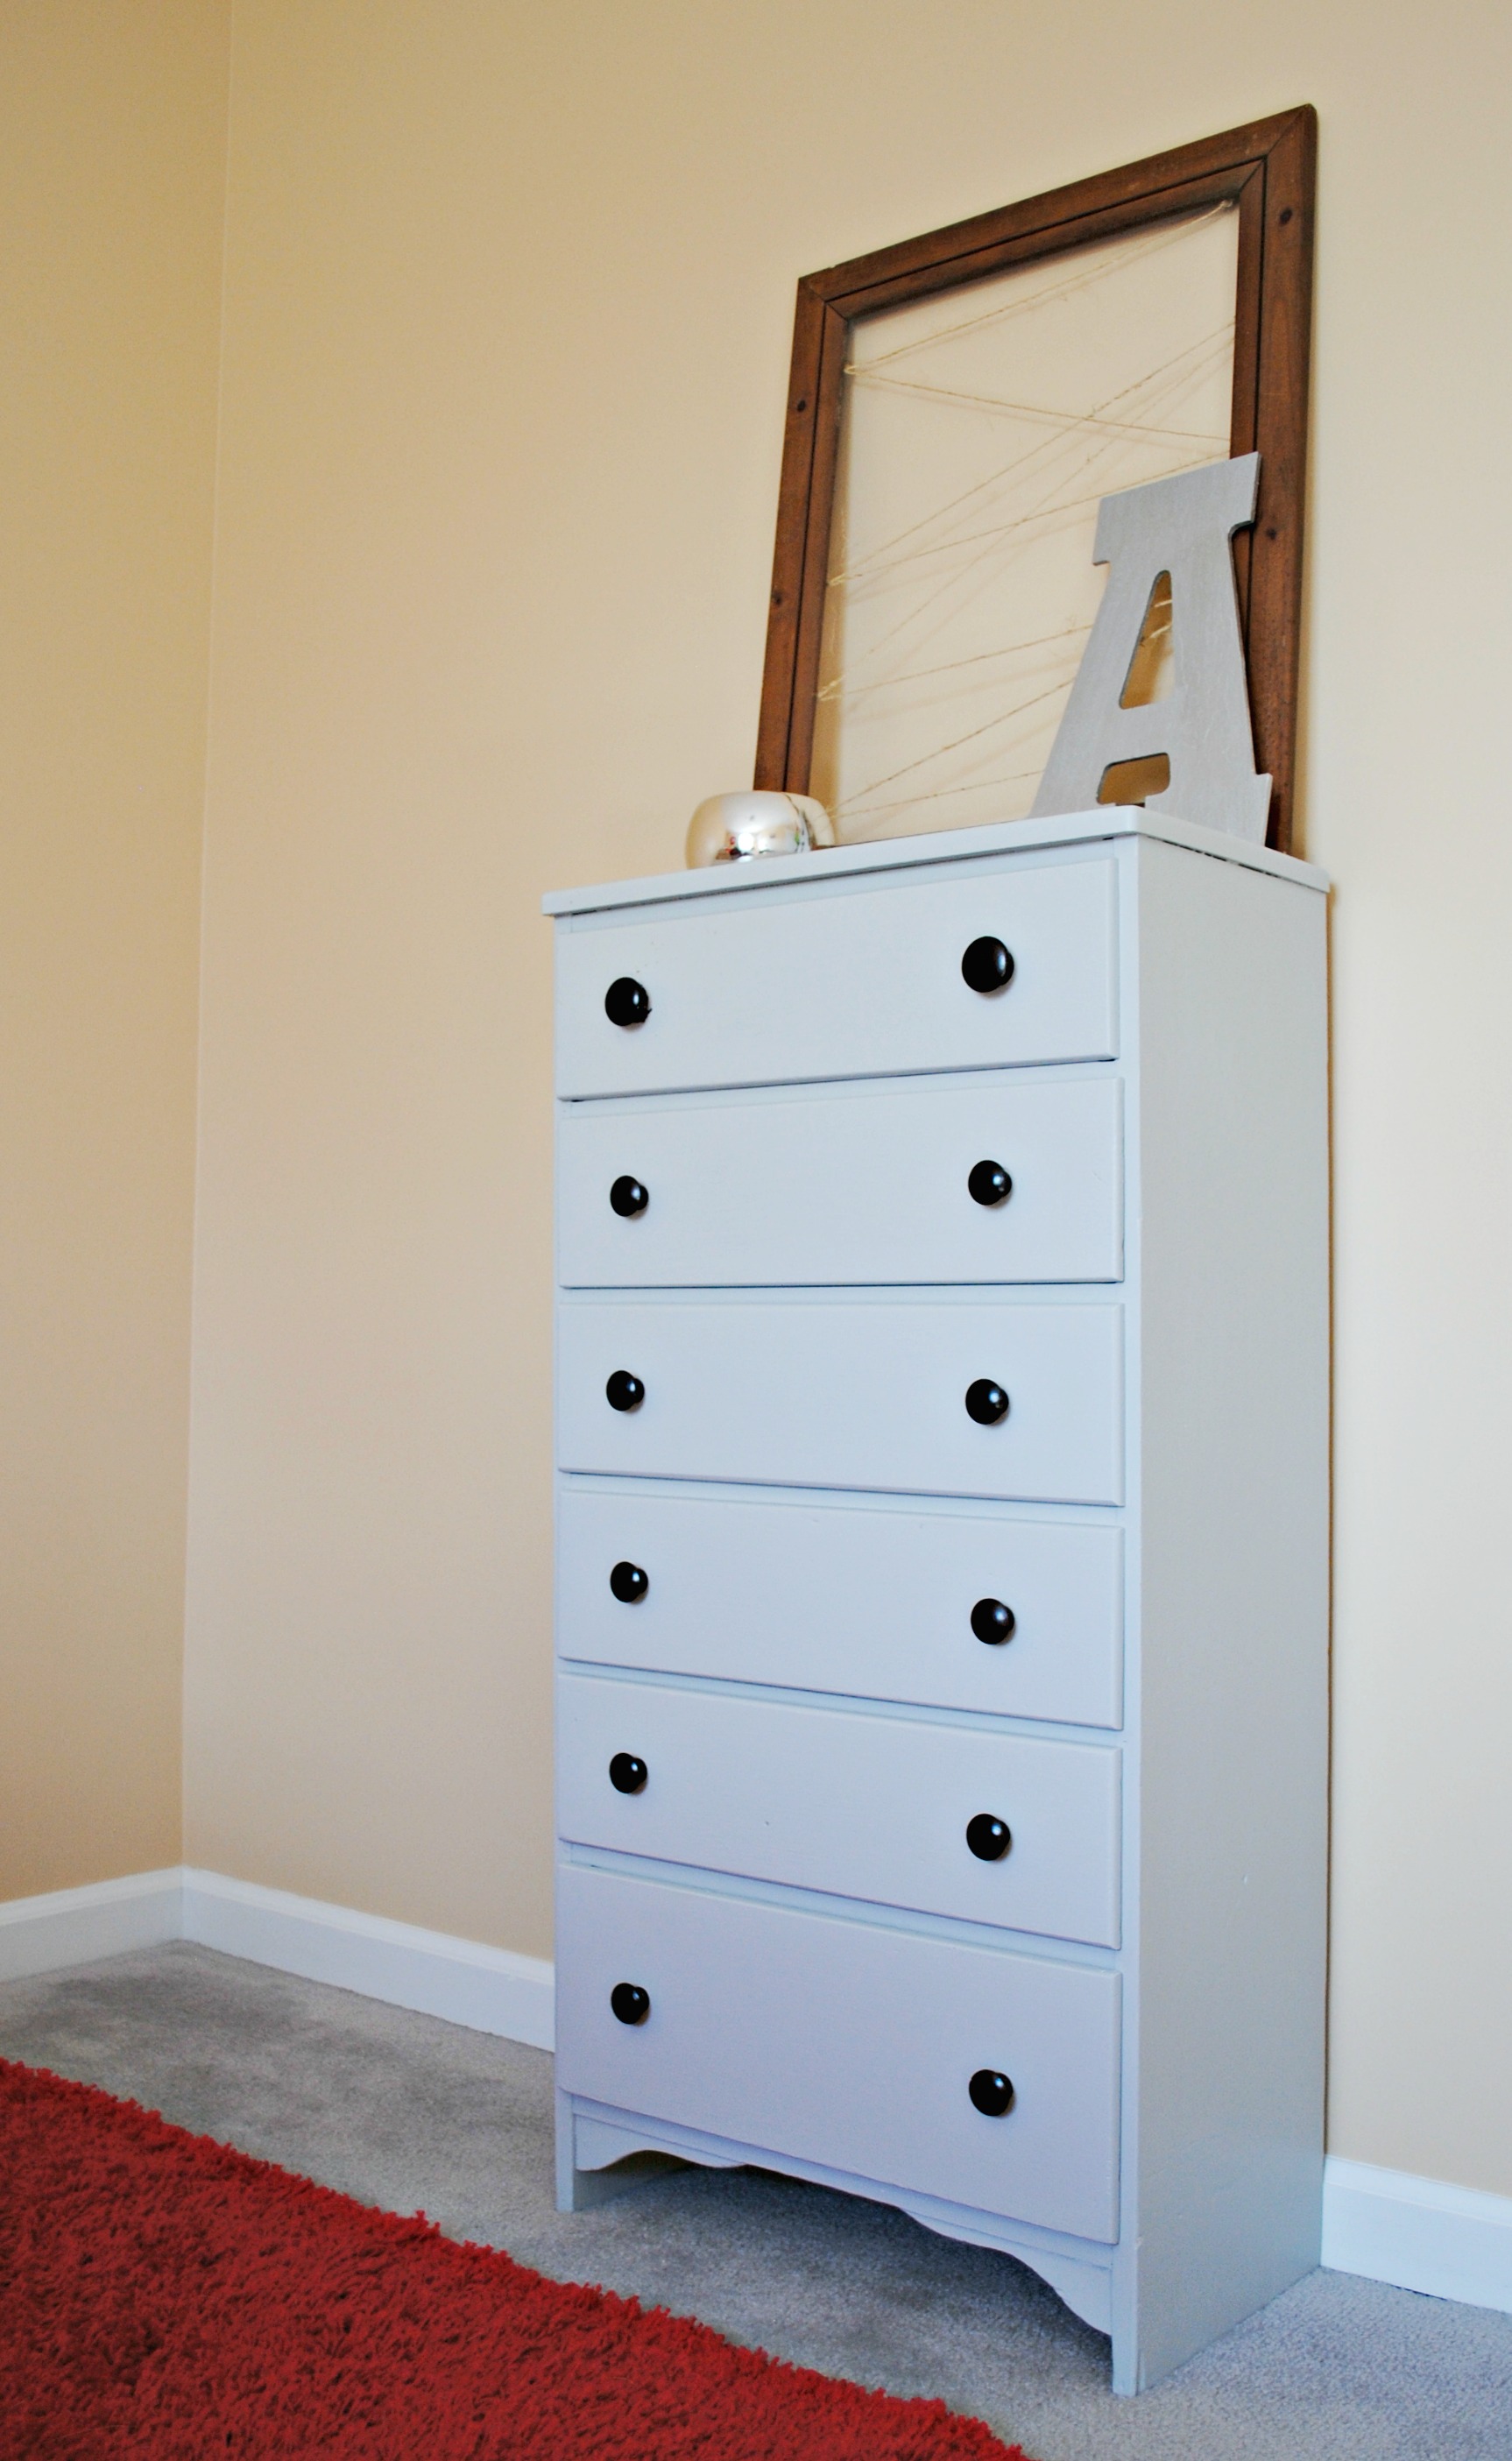
Now here comes the bombshell. To paint it we used slip resistant paint. Why, you ask? Because it’s what we had in the basement and I really liked the color. We had leftover Behr Porch and Patio paint that we had put Shark Grip in that was the perfect color to go in Alex’s room. I was all like, “John, this might sound crazy but maybe I can just use that paint?” and he was all like “It would be slip resistant, that’s for sure”. Done and done.
So, I slapped on the first coat and let it dry. It definitely felt like sandpaper once it dried which was a little concerning. I sanded it with my 220 grit sanding block to see if that would help and it totally did! I put a second coat on, let that dry, then did another pass with the sanding block. It has a little bit of a rough texture, but no longer painful sandpapery texture, and it feels toddler-proof.
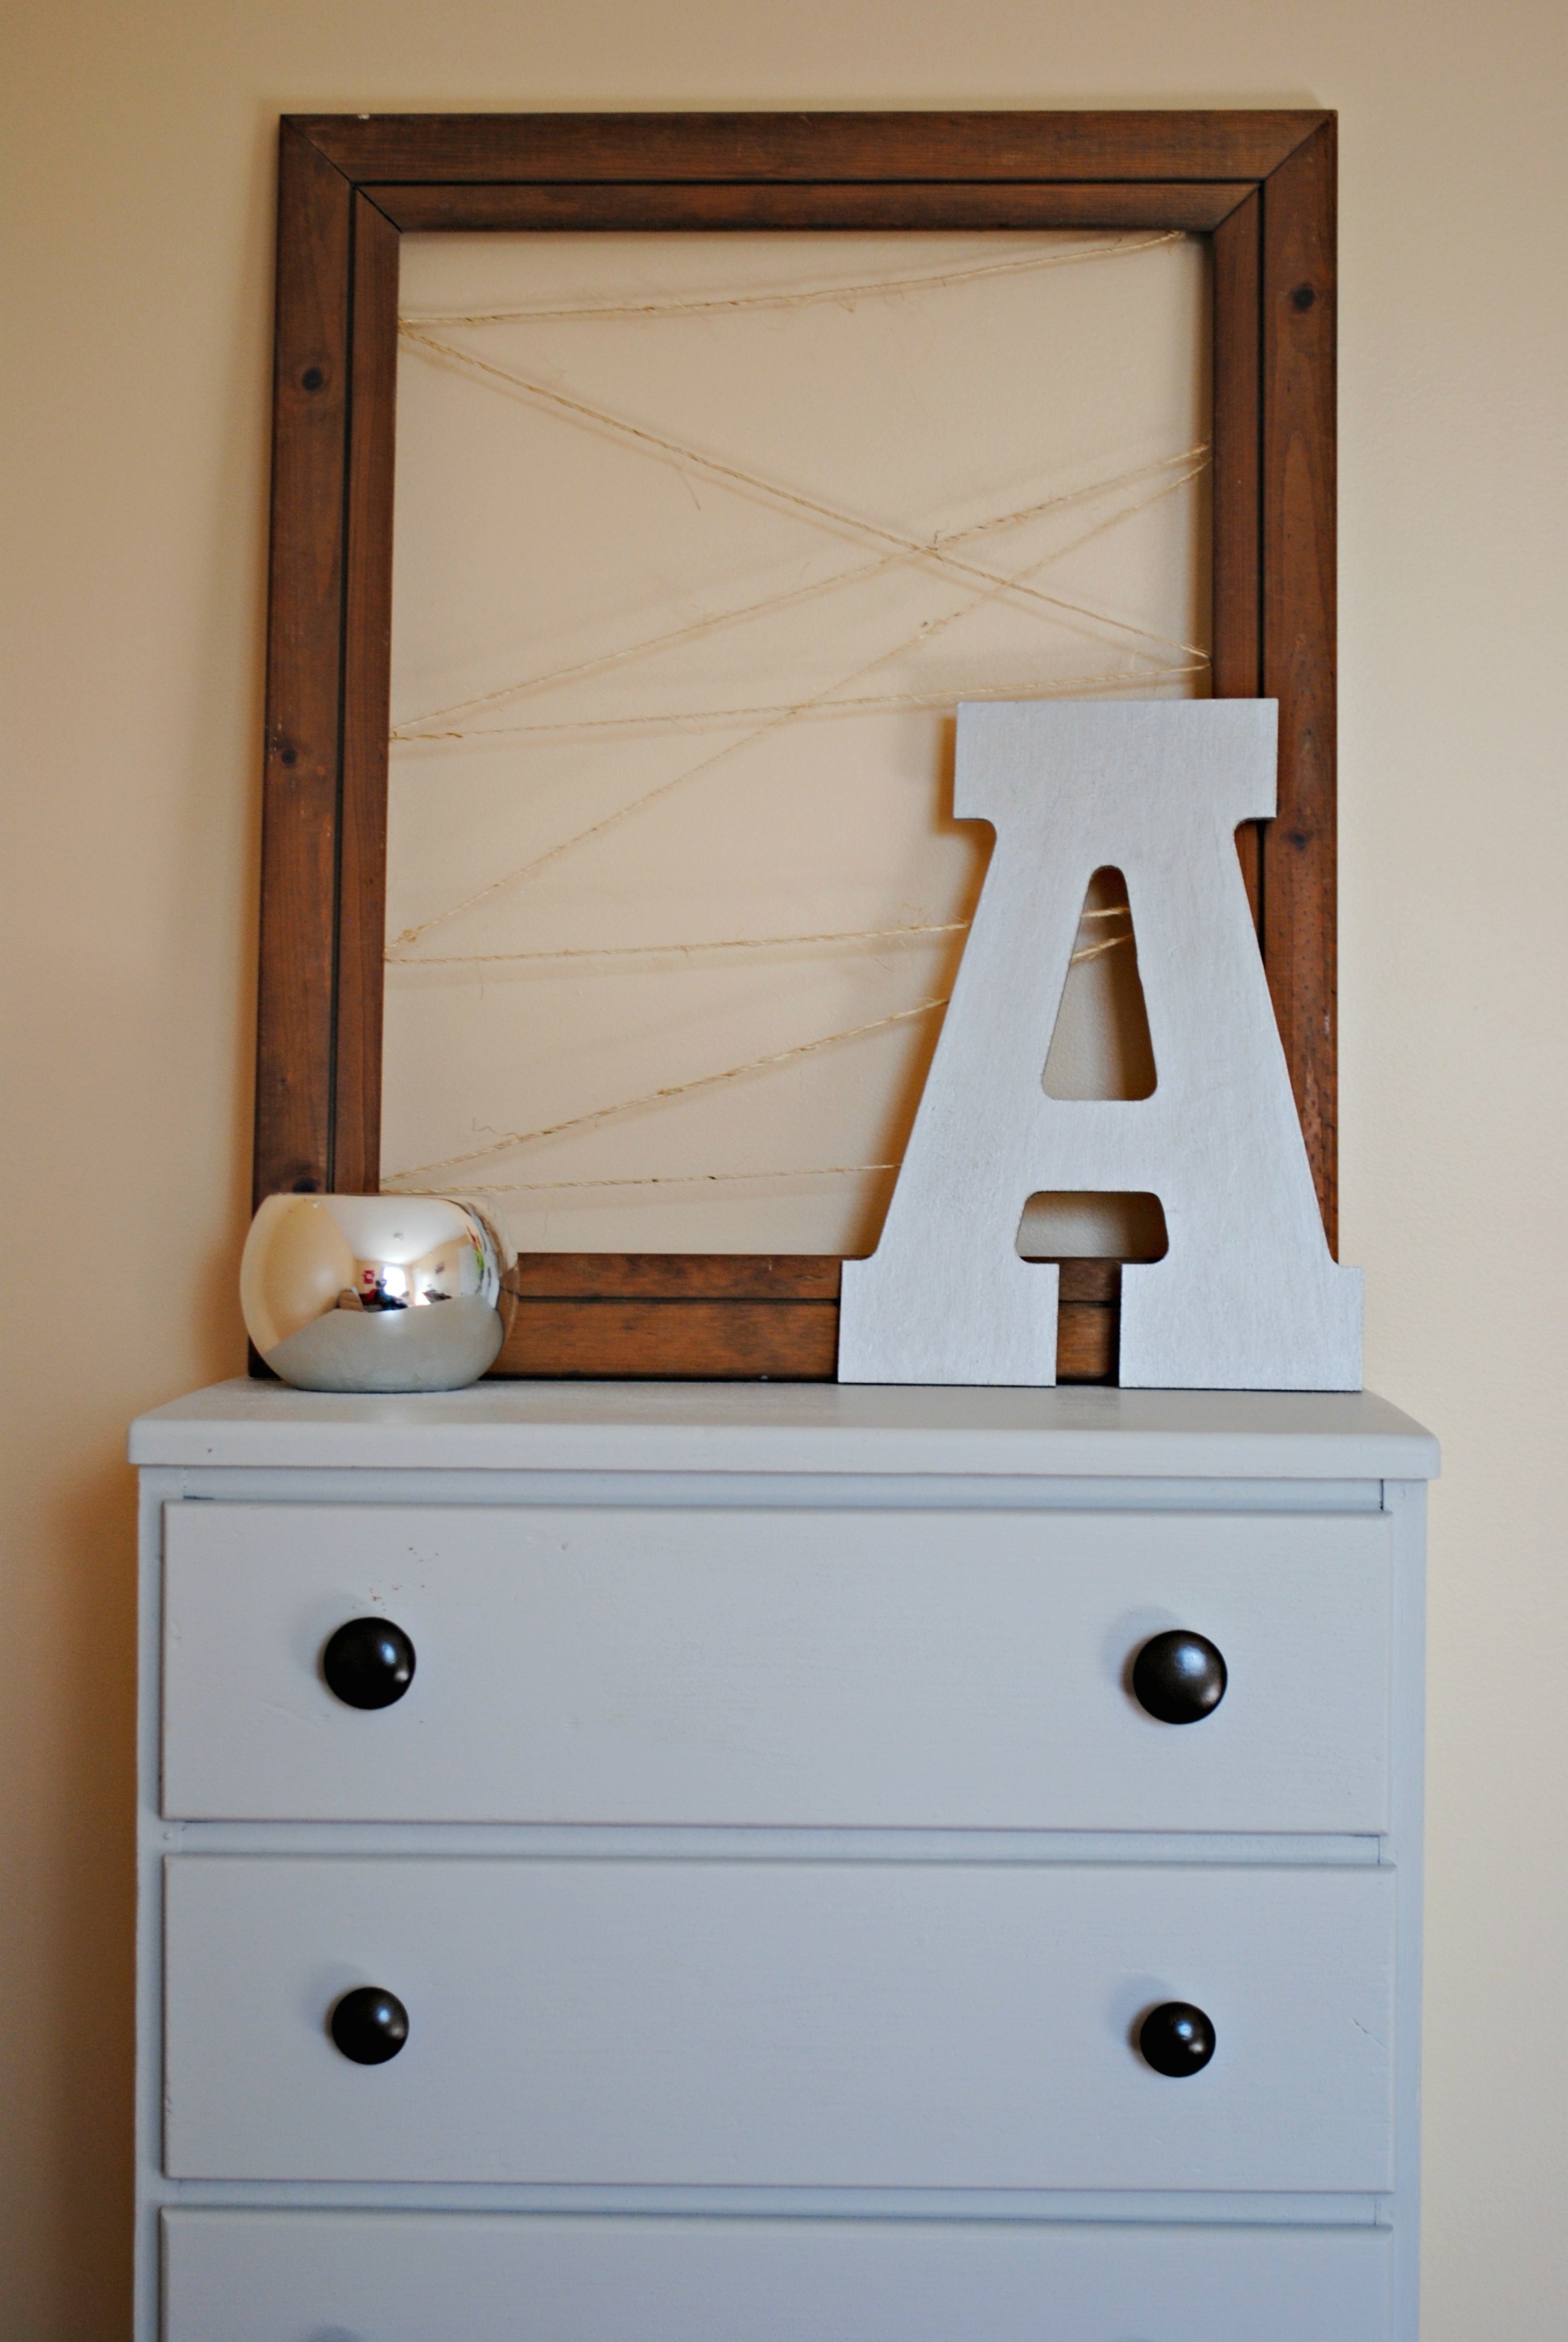
I didn’t take any photos, because I was freezing my tush off outside, but I spray painted the wood knobs (after a coat of primer) with Rustoleum oil rubbed bronze paint. I let them dry for a few extra hours since it was just a few degrees (maybe 30 or 40) below ideal painting temps and then reattached them.
Here it is now!
 The drawers are the perfect size for his tiny toddler clothes.
 So next time you see a super ugly and beat up dresser, don’t turn away! You too can make it beautiful again =]
Have you ever DIYed with anything crazy because it’s what you had? I pretty much do it all the time.

