


So, lately I’ve been trying to tackle little projects around the house. I like the feeling of accomplishment I get when I spend little to no money on a project. Something about it is so exhilarating!
One of my most recent tasks was to get some art going on in Alex’s playroom. It’s basically a blank slate in there, with one piece of furniture and a mountain of toys, so it definitely needs some love. I knew I wanted to put up the chalkboard I used in his monthly pictures, so I did that and also painted a little frame and threw some of his burp cloth fabric in there. Super easy.

I have been thinking for a while that I’d like some fun signage in there, with words that describe a child’s state of mind. Eventually, I settled on the words learn, create, explore and play. In the nicest way possible, those words describe why our house in a disaster every evening.

My color scheme for the room will hopefully end up like this with some bright blue in there also. And who knows, I might go crazy and just have every color in there. Watch out. I just really want it to be fun and bright and non-gender specific, so this is my jumping off point.

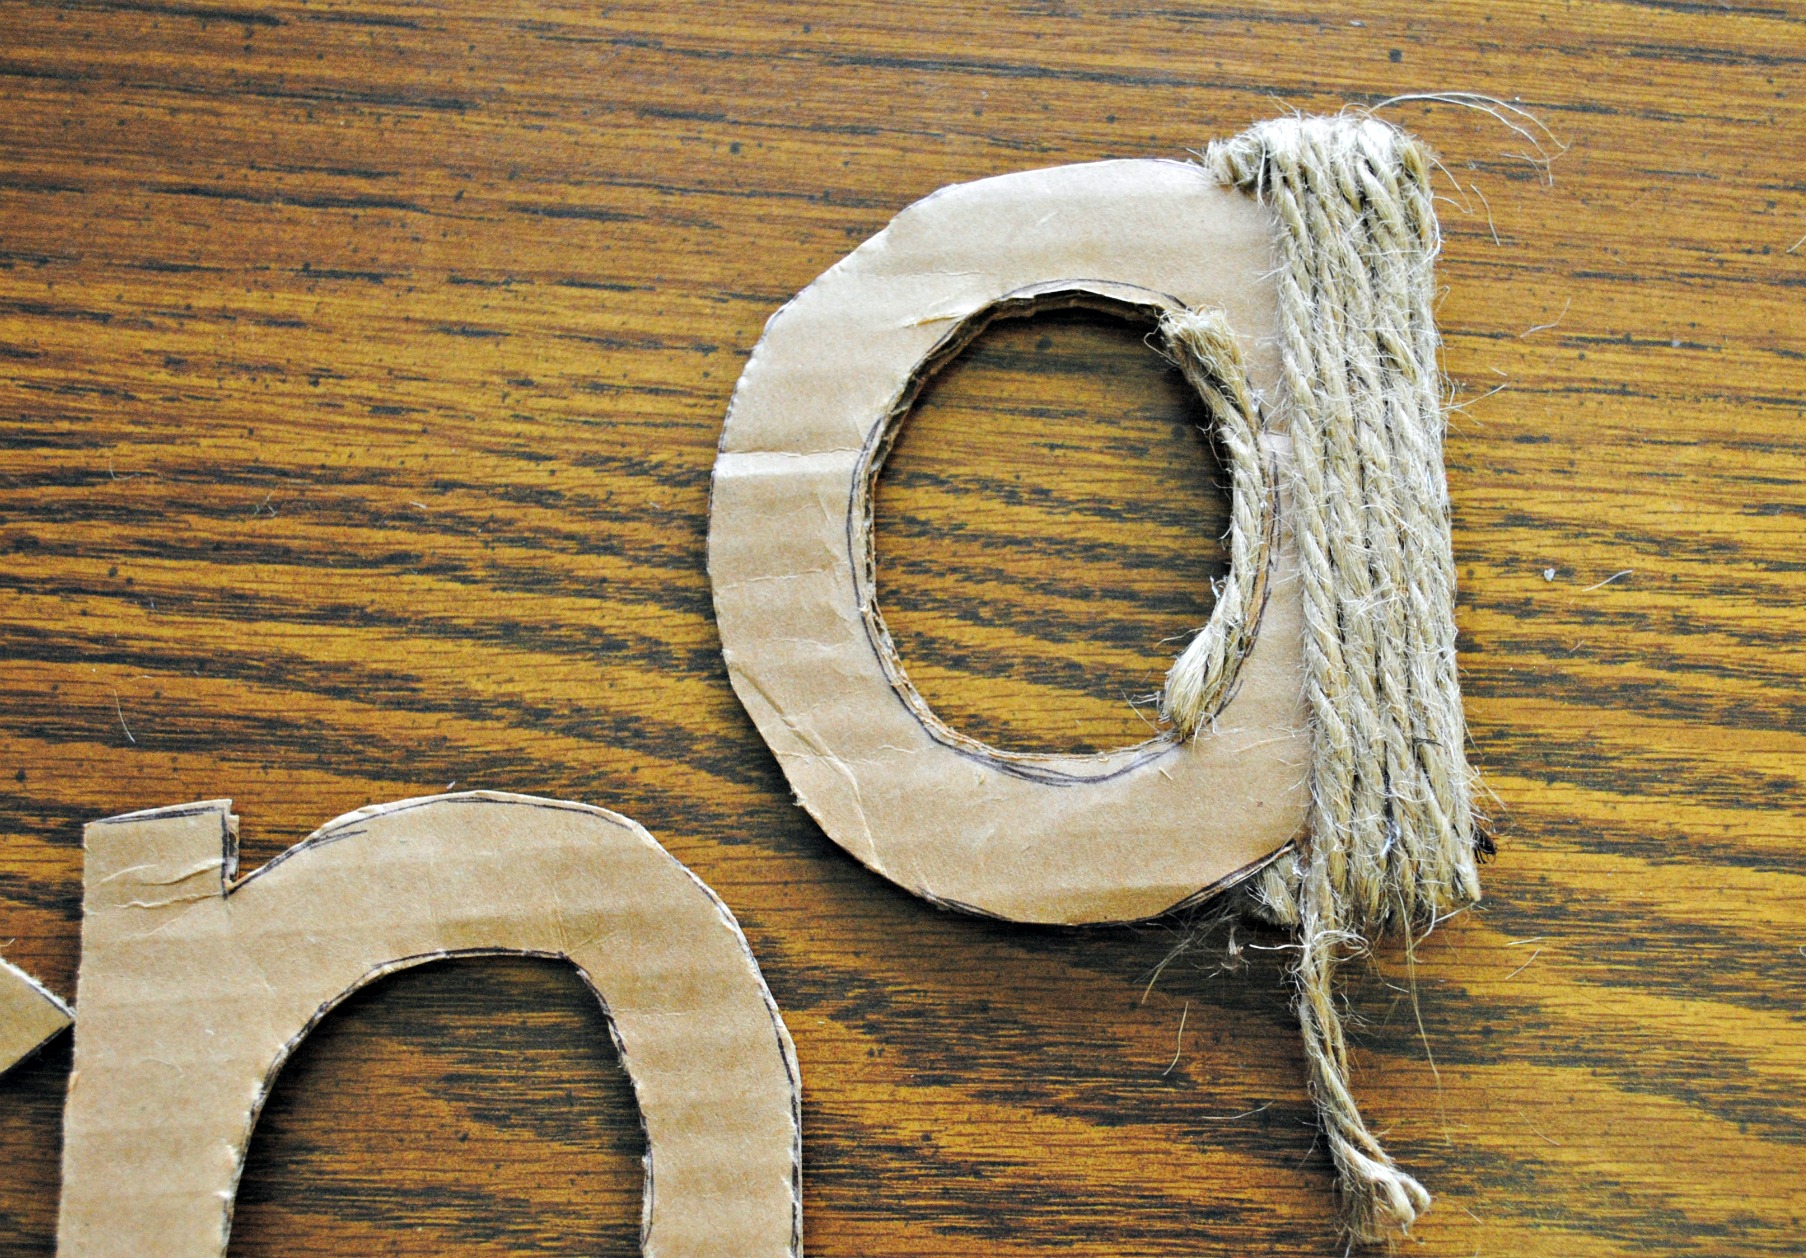
I knew I wanted the signs to be a little rustic, so I decided on twine wrapped letters glued to wood boards. I wasn’t thrilled about the thought of having to buy craft store letters at $2 a pop, so luckily I remembered a technique I used to make a wreath last Christmas. Cardboard letters, whoop! I already had a ton of cardboard down in the basement, so all I had to do was pick a font, print the words out and then cut away. Note: I used the font Smiley Monster found over here.

After tracing the letters onto the cardboard, I cut them out and then my hand fell off. Kidding, but it sure felt like it wanted to.

The next step was easy-peasy. Glue, wrap, repeat for each letter.
For my boards, I hit up our Habitat ReStore to see what I could find. I liked the idea of the wood siding I used to make my groceries sign for the kitchen, so I was hoping there was still some of that left.
Score! The sign said it would be $0.50/foot but when I got to the counter she rang it all up for $1.50. Can’t beat that. $1.50 for two five foot boards.
After bringing them home, I chopped them in half with my miter saw and gave them a good sanding. I wanted to make sure the edges were rounded and there was a shine that I needed to get rid of before I painted them.

I used regular craft paint mixed with water so I could have more of a color wash look rather than a solid block of color. I wanted the grain of the wood to still show through.

Success!

Then, after letting the boards dry thoroughly, I hot glued each of the letters on, making sure the words were centered.

Here they are up on the wall. I love how they turned out! They add so much color to the room! Hopefully Alex appreciates them too. He never comments on my decorating anymore.


