


When I first saw this sign from Sarah Richardson on Sarah’s Summer House, I knew I needed one for my kitchen. It has only taken me a few years, but I finally got around to making a version of my own!

While I would have loved to have the raised letters like in my inspiration photo, there was no way I was going to spend $2 per letter to get this sign done. I followed a few different tutorials to achieve the look I wanted for my take on the groceries sign. The first was from Shanty 2 Chic on how to make wood look old. You can find that tutorial here. Another tutorial I looked to was from Miss Mustard Seed on making an antique sign. I pulled a few things from each of these to get my final product!
I started out with an old piece of cedar siding that I snagged from the Habitat ReStore for $1! I sanded the whole thing with 220 grit sandpaper then wiped it down to prepare it for the stain.
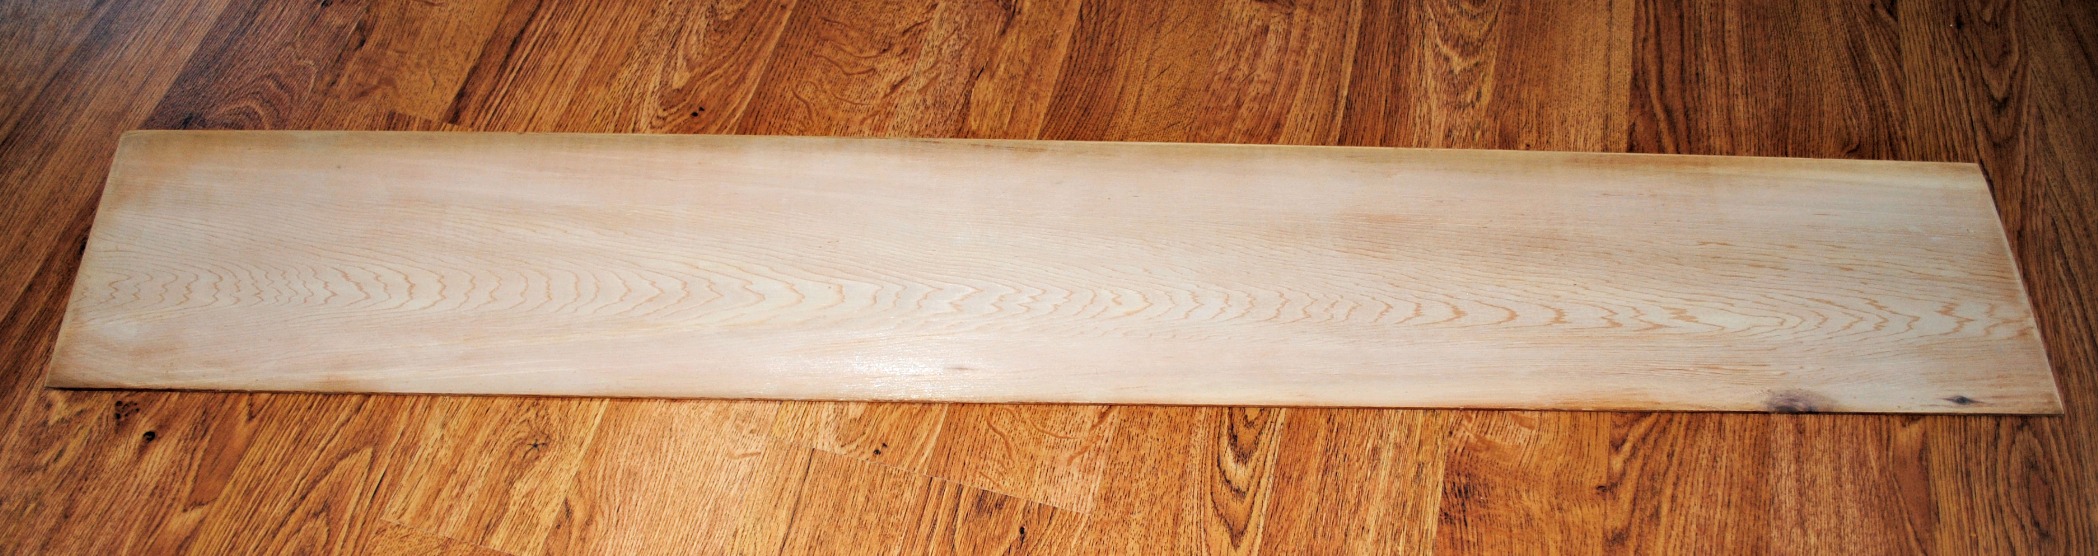
I put on one coat of wood stain in espresso that I had laying around the house already. Be sure to wipe of excess stain before it starts to dry! Let the stain dry for at least 2 hours before painting over it.

Next, I used a paint sample that I scored for free at a moving sale recently. It is some shade of green from Valspar, I’d tell you but I accidentally covered it with paint. I’m not trying to keep my secrets from you all. Pinky promise! I wasn’t worried about making this perfect since I was going to distress it all up anyways; might as well give myself a head start =]

I then laid out the letters I printed from the computer. I used this technique of transferring the lettering to the wood and then filled in my letters with craft paint in vanilla. I originally just wanted to do one coat, but John convinced me otherwise. I’m so glad I have him around; two > one =]


I finished it off with a little hand sanding to bring all the layers of the sign out. There is no science to this. I used 220 grit sand paper and distressed it to my liking. I was originally going to use my power sander, but it was all the way out in the garage and I was being a rebel and crafting while Alex was still awake. Hand sanding it had to be! I think it gave me a little more control over how much distressing happened.
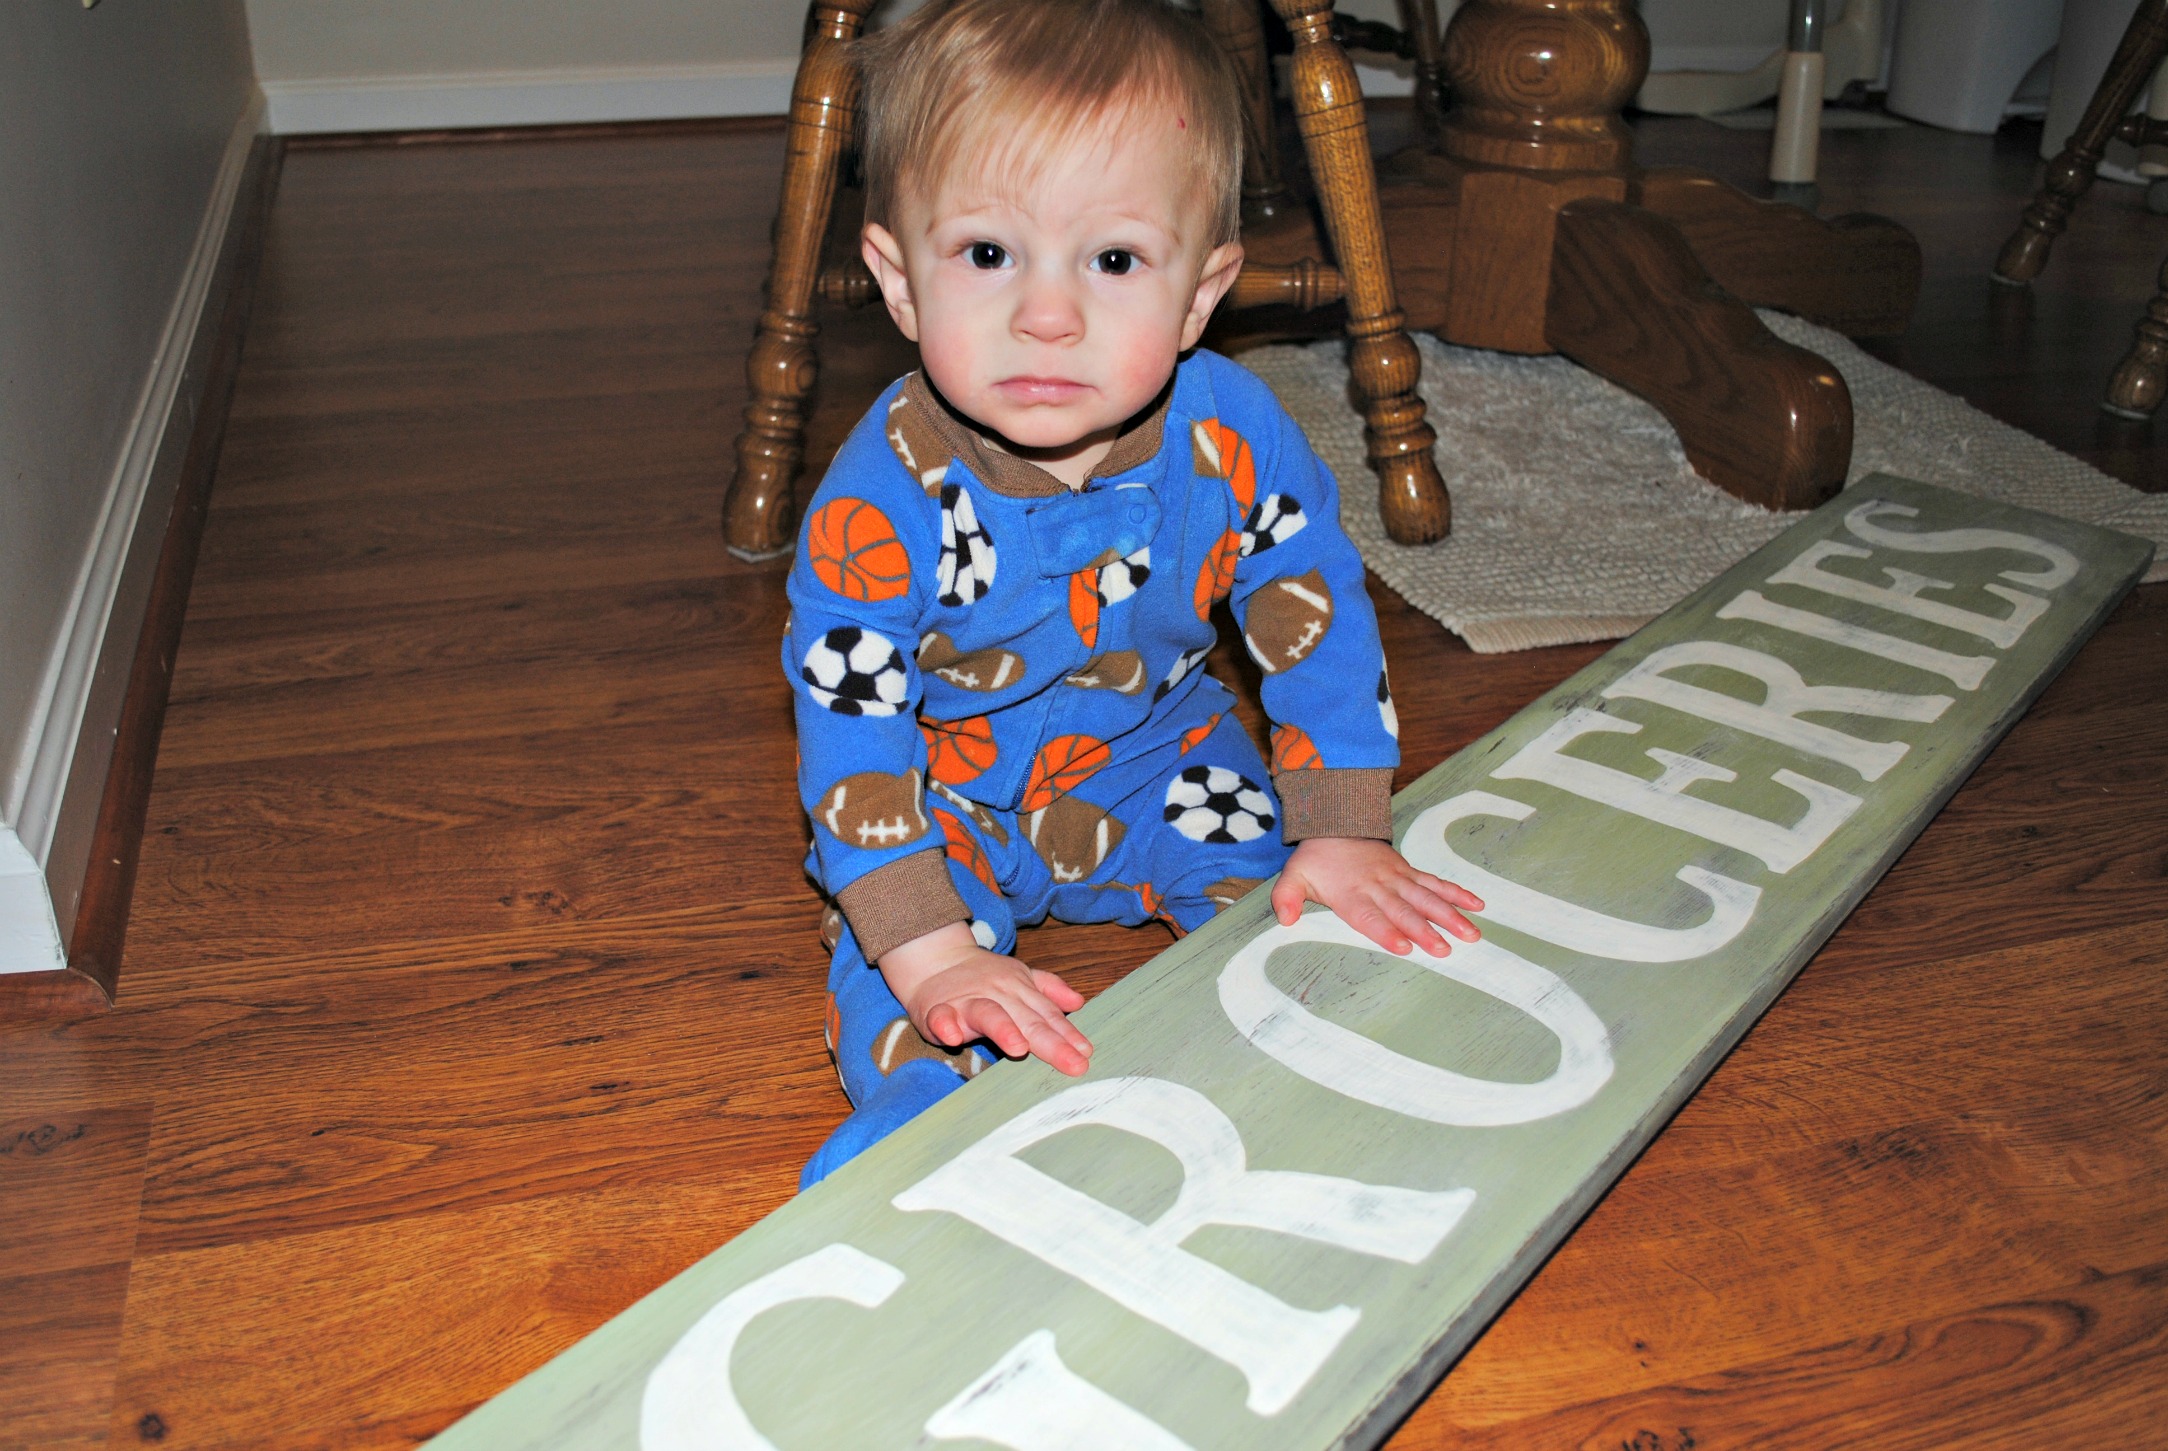
I am in love with the results! I can’t believe I waited so long to make this sign; it adds a little punch of color and character to our kitchen. I smile every time I walk in and see it =]

Alex was even impressed with how it turned out. He’s always such a good helper!
This post is part of the Dog Days of Winter: Thrift It Party. I am linked up over at Love of Family & Home! Check out all the other amazing thrifty makeovers!


